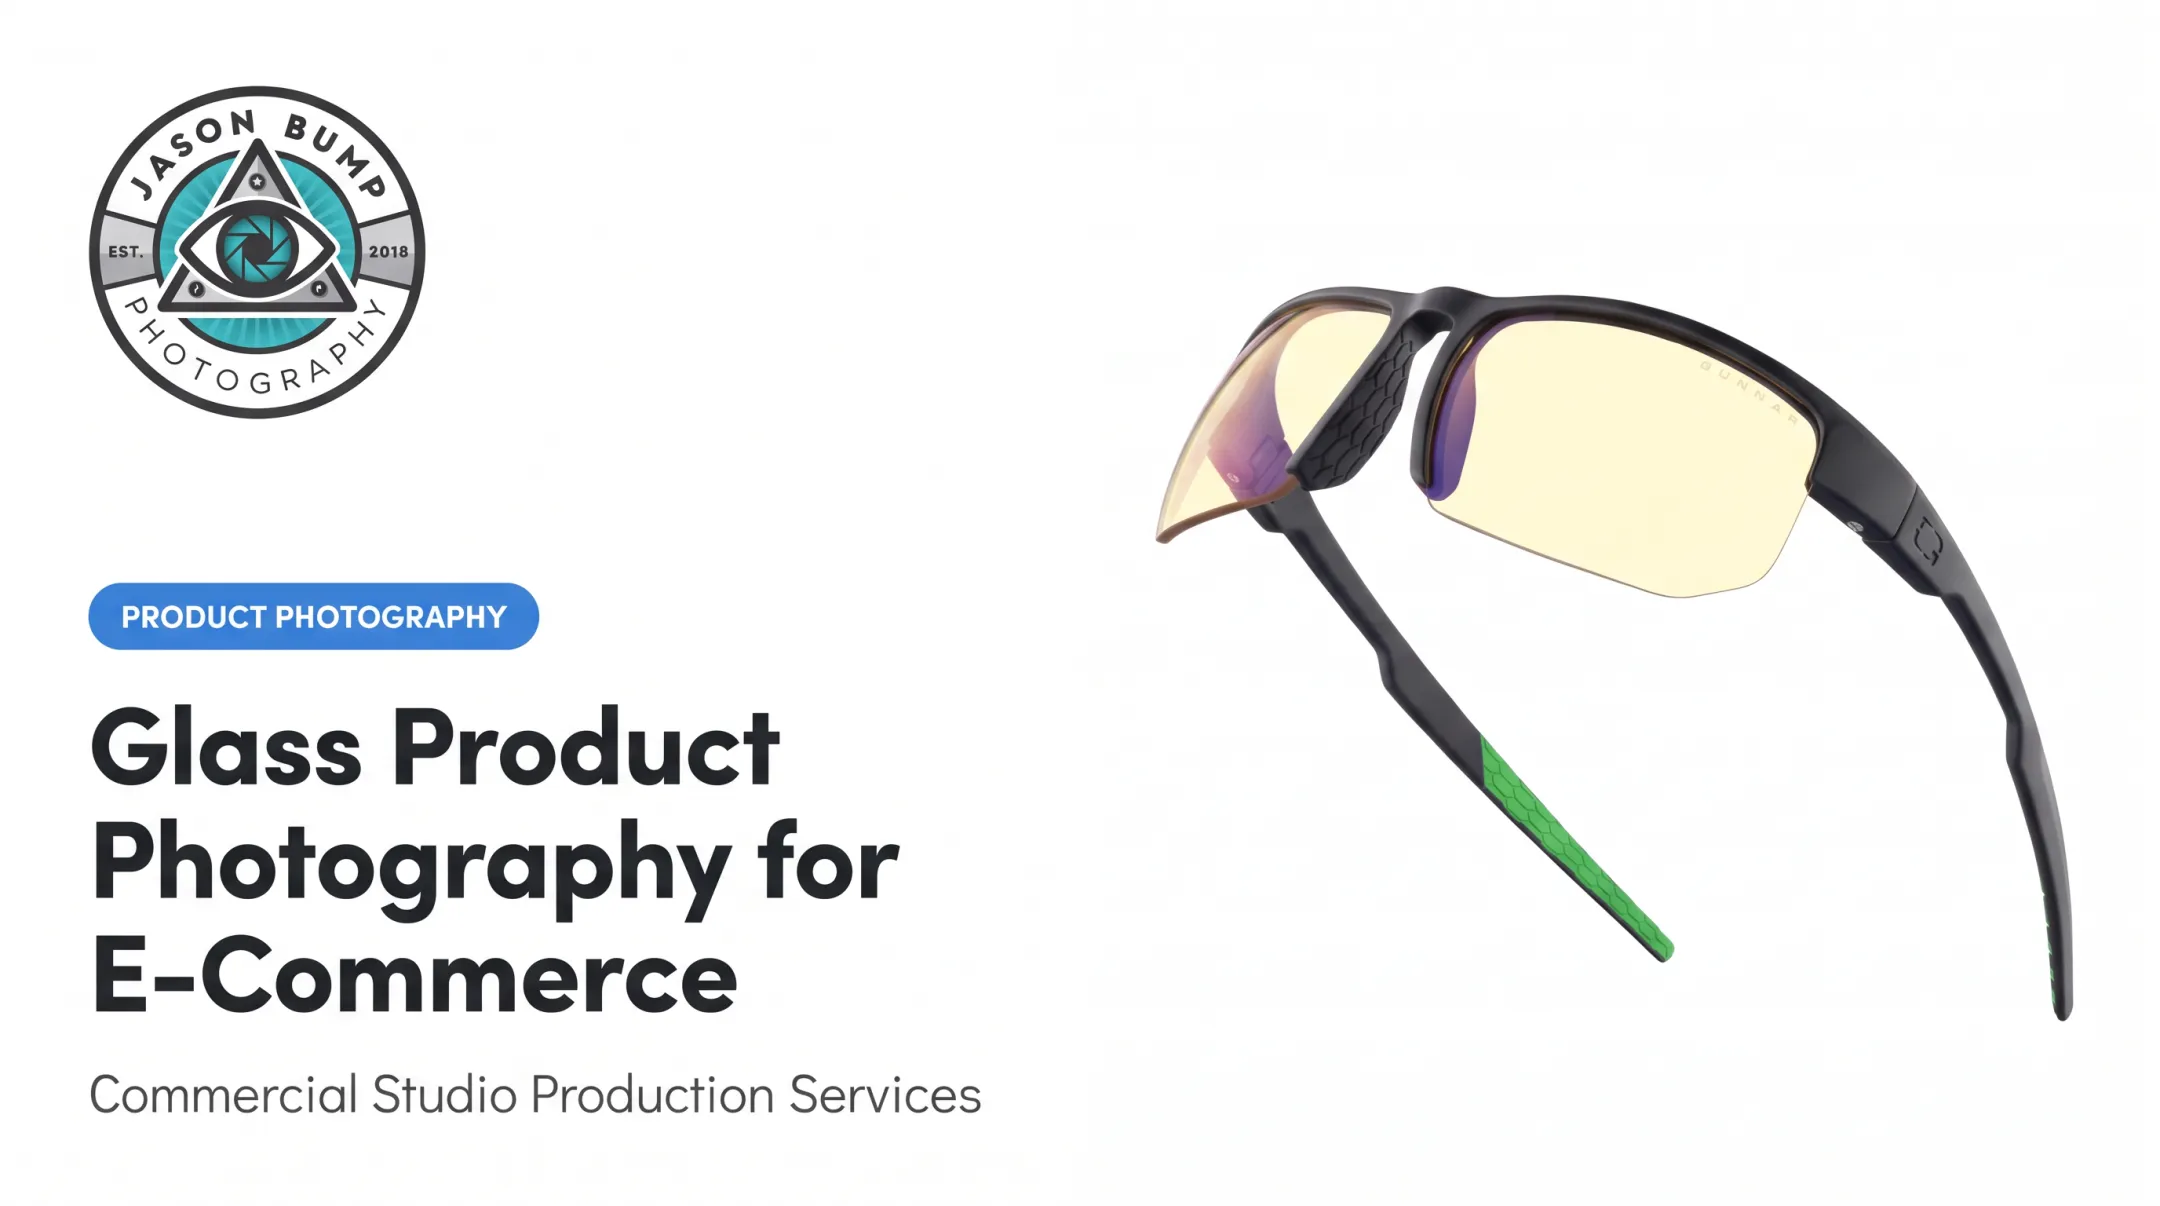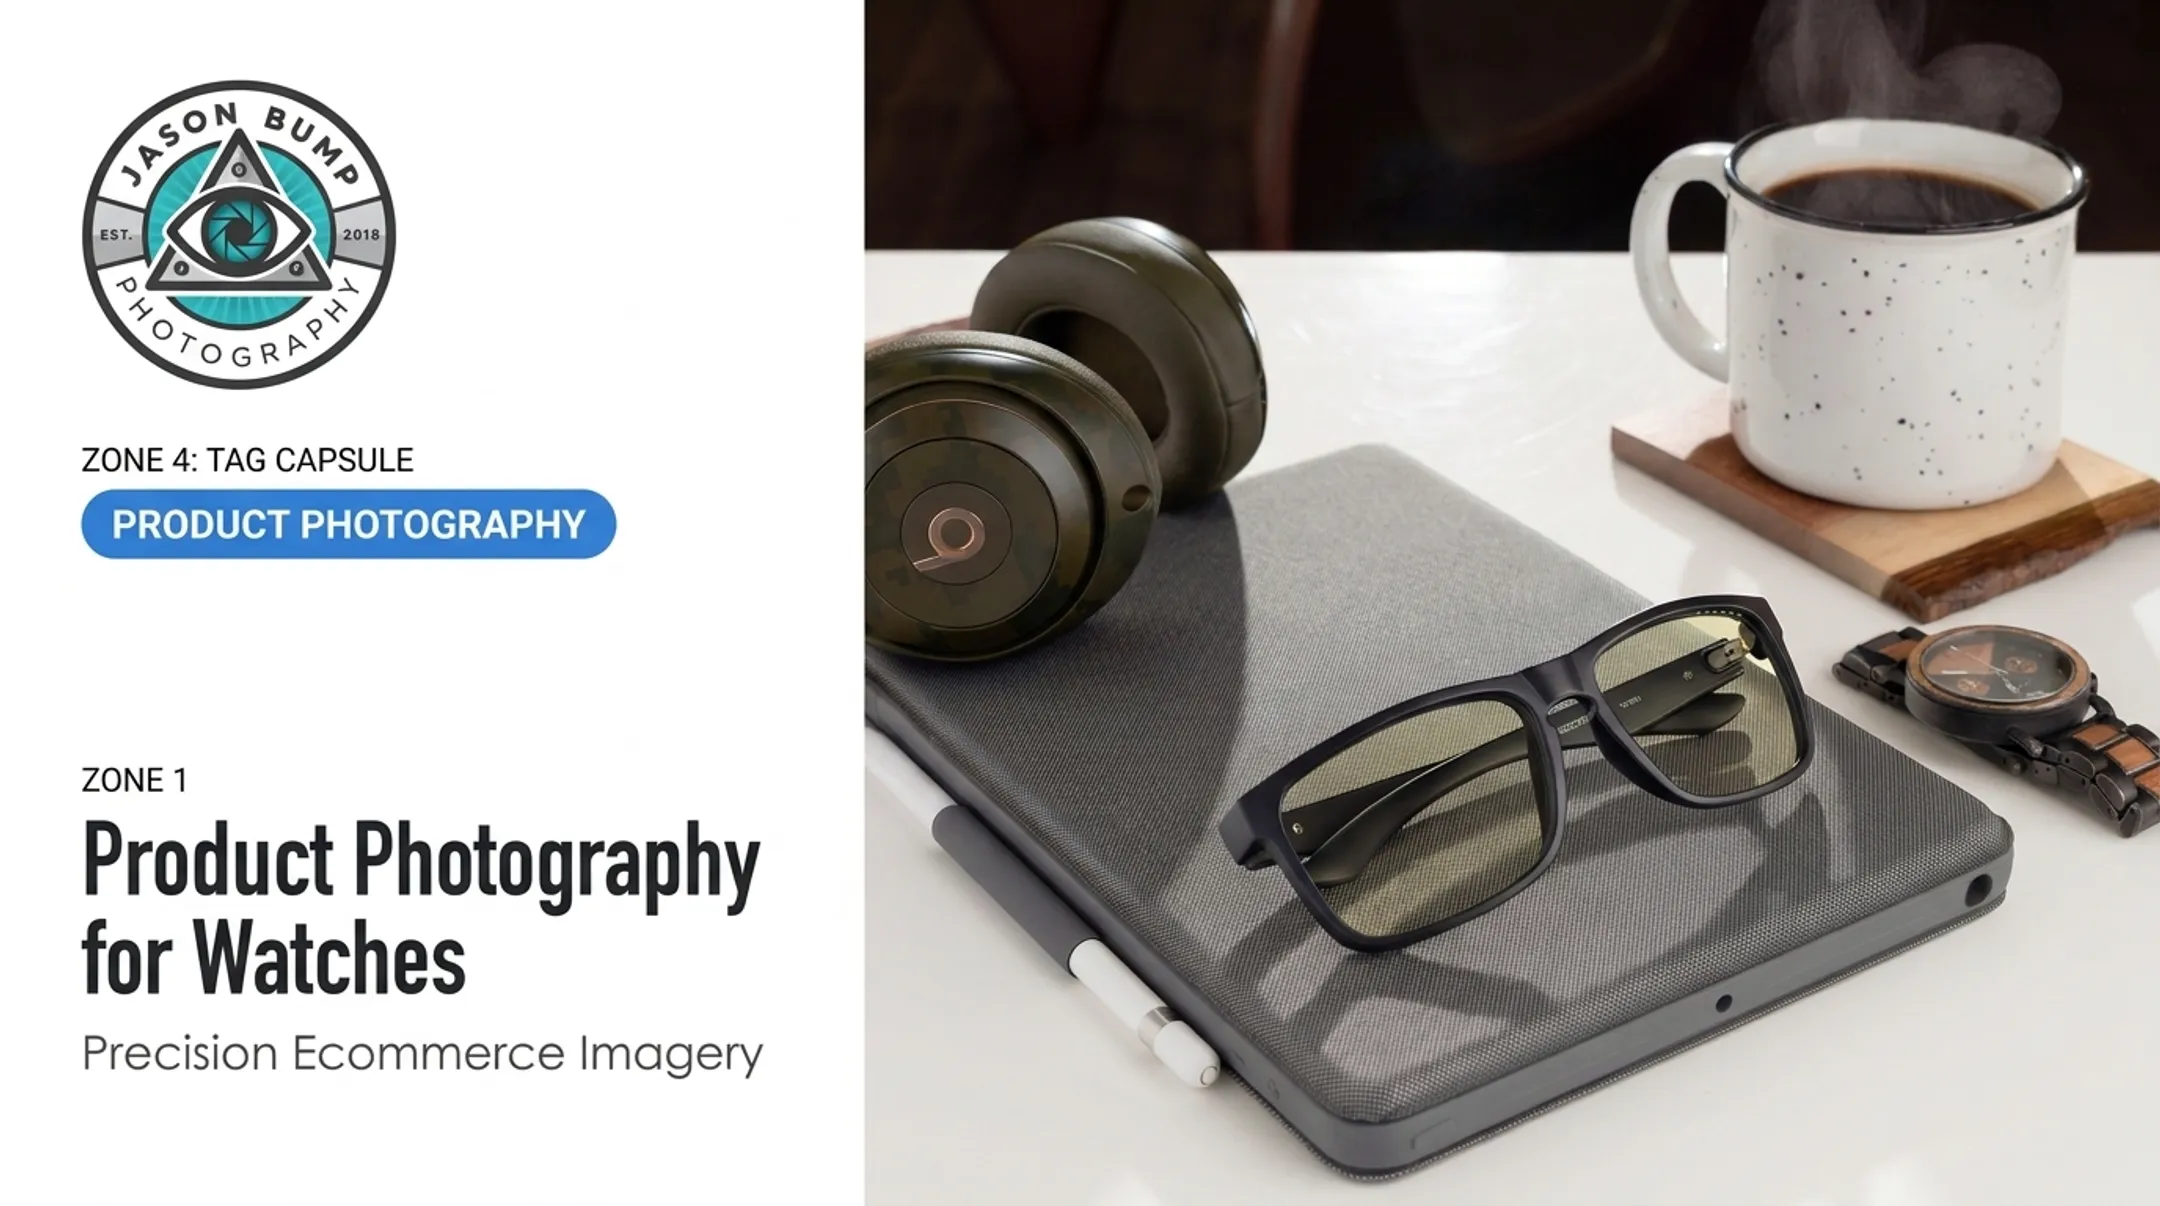

Reflective lenses bounce back softboxes, windows, and even the camera itself. Curved frames throw shallow depth of field into chaos. Tiny logos and hinge details get lost in glare. And a single fingerprint on a lens can ruin an otherwise perfect shot.
This guide is for eyewear brands, Amazon sellers, agencies, and product teams who need consistent, accurate glasses images for listings, catalogs, wholesale decks, and lifestyle campaigns. We'll walk through defining your commercial goal, preparing each frame, controlling reflections, capturing the right views, retouching carefully, and delivering files that actually help shoppers decide to buy.
Key Takeaways
- Clean frames and controlled reflections beat expensive camera gear every time.
- Build a full set: catalog, three-quarter, detail, flat lay, and on-model when it fits.
- Let sales channel and concept drive backgrounds, props, models, and shot count.
- Retouch to clear distractions—never change frame shape, lens tint, or true color.
Why Glasses Are Challenging to Photograph
Lenses don't just reflect light, they reflect everything around them: softboxes, windows, ceiling fixtures, even the photographer's camera. PetaPixel notes that reflective surfaces only show what they can "see," meaning glare isn't random. It's a direct result of what's in the room.
Left uncontrolled, that glare can hide the exact details customers need, like tint, coating, or lens shape.
Depth is the second trap. Glasses are three-dimensional objects with a curved front, angled temples, and small hinges. Shooting close-up with a wide aperture creates razor-thin depth of field.
Canon points out that macro photography's shallow depth of field often leaves parts of the subject out of focus — meaning the front of the frame might be sharp while the temple and logo blur.
Both issues get worse when the frames aren't camera-ready. Before any shoot, run a cleaning and inspection pass:
- Wipe lenses and temples with a microfiber cloth (no paper towels — they scratch)
- Remove dust with a blower, not compressed air near lenses
- Check for fingerprints under light held at a low angle
- Confirm hinges open smoothly and nose pads sit evenly
- Verify the lens tint matches what's listed for sale

Skipping this step is the fastest way to end up retouching out preventable problems later.
Plan a Glasses Product Photography Shoot Around Ecommerce Goals
Define the Commercial Objective and Distribution Channel
A product listing image needs different treatment than a paid social ad. Before booking a shoot, decide where each image will live:
- Marketplace listing (Amazon, Shopify) — clean, compliant, technical
- Brand website or collection page — more styling flexibility
- Social campaign or email — often needs lifestyle context
- Wholesale deck — needs consistency across an entire catalog
Each use case affects crop, background, and orientation. Don't shoot once and hope it works everywhere.
Build a Clear Creative Brief
Before the camera comes out, nail down:
- Target customer and brand personality
- Reference images and color palette
- Background and prop preferences
- Launch dates, budget, and product quantities
- Required deliverables (file types, counts, sizes)
Also identify the eyewear category. Sunglasses, safety eyewear, sports frames, and blue-light glasses each carry different visual claims. A sports frame brief might call for an athlete in motion; a fashion frame might call for a clean studio hero shot instead.
Create a SKU-by-SKU Shot List
Consistency across a catalog comes from repeating the same shot list per frame:
- Primary front view
- Three-quarter angle
- Folded flat-lay
- Temple/hinge detail
- Lifestyle image (when relevant)
Lock camera height, spacing, and scale so every SKU in the catalog matches visually. A written shot list before shooting begins saves real time. Jason Bump Photography's ship-shoot-sell workflow builds this list before products even arrive at the studio.

Prepare and Stage Each Product
Run through these checks for every single frame, not just the first one:
- Inspect frames for defects and damage
- Clean lenses and frames thoroughly
- Remove all packaging and tags
- Check hinges and temple alignment
Keep a microfiber cloth and dust tools on set for the entire session, not just at the start.
Choose Styling That Supports the Product
Clean white-background catalog shots serve one purpose; branded hero and lifestyle shots serve another. Props should add context, not compete with the frame.
A GUNNAR Call of Duty eyewear shoot, for example, might pair the frames with a branded case, dark tabletop, and a folding knife to reinforce a gaming aesthetic. A driftwood-and-sand setup with warm tones tells a completely different brand story.
Use Lighting and Reflection Control to Show the Product Clearly
Start with Large, Soft, Diffused Light Sources
Broad, diffused light produces smoother highlights and softer shadows than small, hard sources. Elinchrom recommends large softboxes with double diffusion for glass-like surfaces, since controlled softness reveals curves without creating harsh hot spots. Test source size, distance, and placement for each specific frame shape.
Change the Angle Between Product, Lights, and Camera
Sometimes repositioning works better than adding more diffusion. Try:
- Moving lights higher or to the side
- Tilting the frame slightly
- Shifting the camera position
Small adjustments here move unwanted reflections away from the lens while keeping the frame and temples lit.
Use Flags, Cards, and Reflectors
- Black flags deepen and define frame edges
- White cards fill dark shadow areas
- Reflectors lift shadows without adding new hot spots
Choose backgrounds that won't bounce color casts onto glossy surfaces. Test each tool against glossy, transparent, mirrored, and matte materials separately—what works on a matte frame won't necessarily work on a mirrored lens.

Adapt for Tinted, Polarized, and Specialty Lenses
Tint, polarization, and coatings all change how light behaves. A polarizing filter on the camera can help, but PetaPixel's glass-shooting test found it didn't reliably eliminate reflections on its own.
Test alternate light positions too, and confirm the fix doesn't shift the lens's true color.
Test, Document, and Repeat
Shoot test frames before running the full collection. Check at full resolution for:
- Glare and shadow placement
- Frame symmetry
- Logo visibility
- Sharpness across the frame
Document camera height, product placement, and light position so every SKU afterward matches.
Control Glare in On-Model Images
Model shoots often need a higher or offset light source, larger diffusion, and small head-position adjustments. Prioritize visible eyes and frame detail, but don't force an unnatural pose to chase perfect lighting.
Capture the Essential Glasses Product Views
Most glasses listings convert when shoppers can judge shape, build, and fit in a few seconds. Plan these five views so catalog shots, detail proof, and lifestyle context each earn a slot—no filler frames.
The Straight-On Catalog View
This is often the single most useful listing image. Center the product, keep margins consistent, and avoid perspective distortion that makes the frame look warped.
The Three-Quarter Hero View
This angle shows the front, temple, hinge, and branding at once. Because it covers more depth than a straight-on shot, you’ll often need focus stacking or a smaller aperture to keep the whole frame sharp.
The Folded Flat-Lay View
A folded flat-lay is ideal for interior markings, case fit, or simple styling context. Arrange multiple products with even spacing, and watch for shadows falling across neighboring frames.
Detail and Reverse Views
Close-ups help justify premium pricing when they answer a real shopper question. Shoot only the details that matter:
- Hinges and temple construction
- Nose pads and contact points
- Logos, etchings, and lens coatings
Skip a detail frame if it doesn’t change the buy decision.
Lifestyle and On-Model Views
A model wearing the frames shows fit and scale in a way flat product shots can’t—especially when the scene matches how the product is used. GUNNAR’s gaming eyewear campaigns, for example, pair a model with neon lighting and gaming gear to reinforce intended use. Lock model direction and glare control in pre-production, not on set.

Retouching, File Delivery, and Choosing a Professional Photographer
Retouch for Polish Without Changing the Product
Retouching should handle:
- Background cleanup
- Dust and smudge removal
- Shadow and exposure correction
- Glare reduction
- Focus stacking for full sharpness
Never alter: frame silhouette, lens tint, material texture, or logo accuracy. PetaPixel notes that commercial product photography without post-production is rare, but retouching still has limits. Fix lighting flaws—don't misrepresent the product a customer receives.
Prepare Consistent Files for Every Sales Channel
Different platforms have different rules, and they change. Amazon, for example, requires main images on a pure white background (RGB 255,255,255) with the product filling most of the frame. Check current platform requirements before final delivery. Standardize:
- Crop and orientation per use case
- Resolution (Amazon recommends 1,000+ pixels for zoom capability)
- File naming and SKU organization
- Color management across the batch
Know When to Hire a Commercial Product Photographer
A specialist brings more than a camera. Creative direction, pre-production planning, reflection troubleshooting, and repeatable workflows across dozens of SKUs are hard to replicate with a phone and a lightbox.
When that gap shows up on an eyewear catalog, a commercial studio is usually the faster path. Jason Bump Photography, based in Vista, California, has shot eyewear for brands including Oakley and GUNNAR Optiks. U.S. brands that can't visit the studio can use its contactless service: ship products in and get platform-ready files back. Pricing is advertised from $39 per image, with a $300 minimum order and 2–3 business day turnaround. Confirm current rates and terms before booking.
Frequently Asked Questions
What are the trends in product photography for 2026?
Adobe's 2025 Creative Trends report points to generative-AI imagery placing products in unexpected settings and more interactive, participatory content. These are broad creative signals worth watching, not confirmed eyewear-specific benchmarks yet.
Can I ship glasses to a studio for product photography?
Yes. Many eyewear and DTC brands mail frames in for catalog and Amazon listing shoots. Pack them securely, insure the shipment, and confirm turnaround—standard product sets are often ready in a few business days after arrival.
How do you photograph glasses without glare?
Use large diffused light sources, adjust light and camera angles, and add flags or reflectors as needed. Test shots at full resolution before shooting the full collection, since every frame reflects light slightly differently.
What camera settings are best for eyewear product photography?
There's no single universal setting. Smaller apertures (higher f-numbers) increase depth of field, and focus stacking on a tripod with manual exposure helps when one frame can't capture full sharpness.
What photos should an eyewear ecommerce product page include?
At minimum: a front view, three-quarter angle, folded flat-lay, and relevant detail shots. Add lifestyle or on-model images when fit and scale matter to the purchase decision.
How much does glasses product photography cost?
Cost depends on product quantity, number of views, styling complexity, models, and retouching needs. Standard catalog images often start around $39 per frame with a project minimum; on-model and lifestyle sets cost more, so request a project-specific quote.