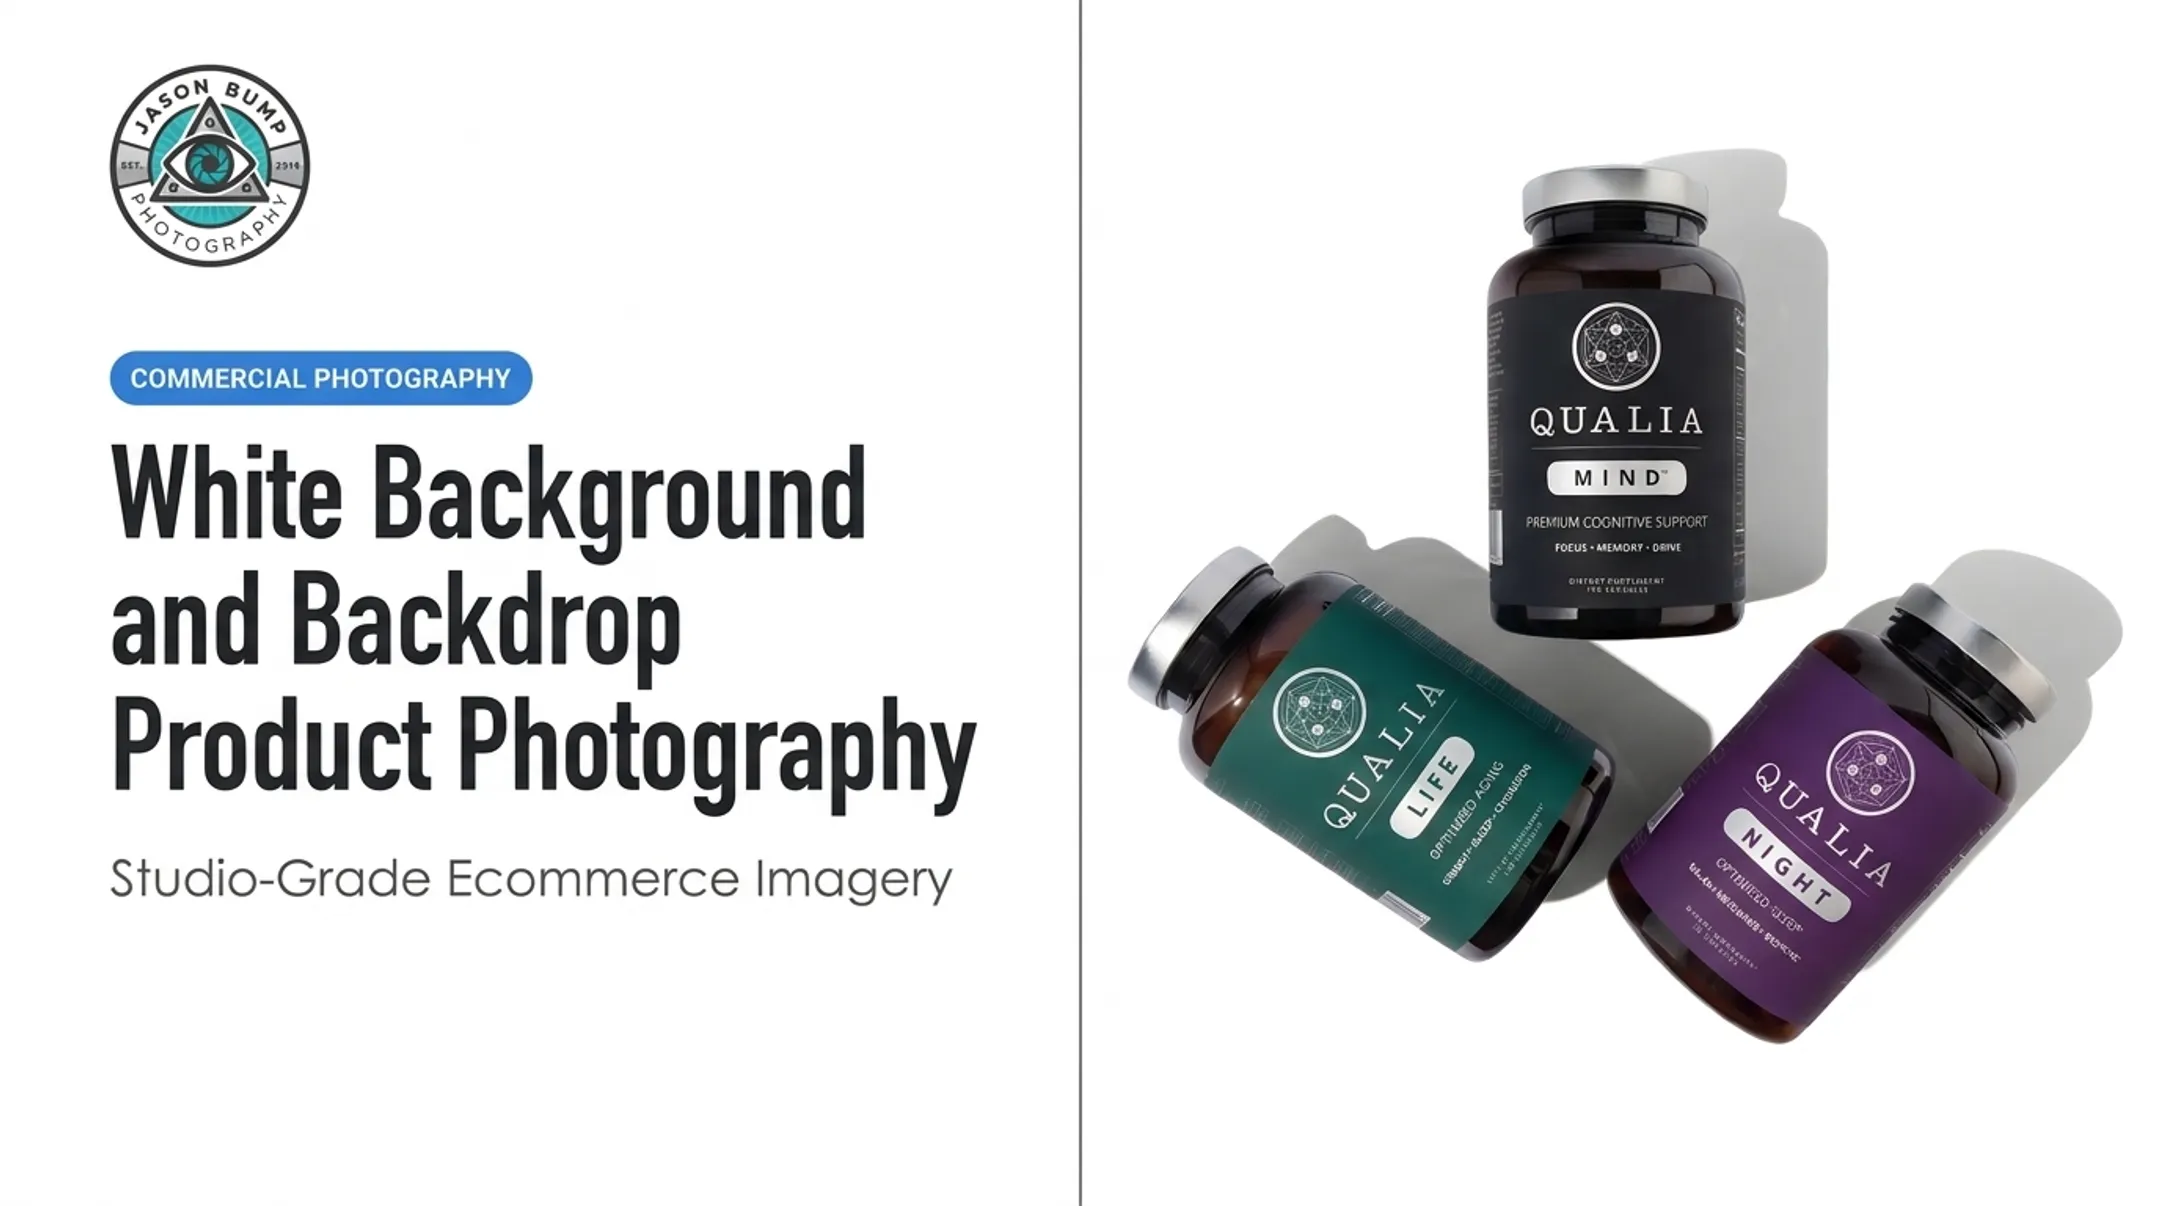

Jewelry is small, reflective, and unforgiving. A polished ring or diamond pendant will bounce every stray light source, dust particle, and fingerprint straight back at your camera. Getting a truly clean white image means controlling jewelry prep, lighting, camera settings, and editing as one connected system — not just placing a ring on white paper and hoping for the best.
This guide walks through when white backgrounds make sense, what equipment you actually need, a step-by-step shooting process, the variables that separate amateur results from professional ones, and how to troubleshoot the most common failures.
Key Takeaways
- A pure white background requires separate lighting for the backdrop and the product, not just a white surface.
- Amazon mandates RGB 255,255,255 for jewelry main images with at least 80% product fill.
- Diffused, broad light sources control reflections on metal and gemstones far better than small, hard lights.
- Focus stacking solves the depth-of-field problem that plagues close-up jewelry shots.
- Lifestyle or on-model images should supplement, not replace, your white-background catalog shots.
How to Photograph Jewelry with a White Background
Step 1: Build a Seamless White-Background Setup
Curve a white paper sweep, matte board, acrylic surface, or foam board from the table into the vertical backdrop so there's no visible horizon line.
Position the jewelry far enough from the background that you can light each independently. That separation prevents gray patches, background shadows, and the flat, muddy look of one light doing two jobs.
Step 2: Prepare the Jewelry and Plan the Shot List
Clean and polish every piece before it touches the set. Dust, fingerprints, and lint show up brutally under macro lighting.
- Use gloves or a lint-free handling process
- Remove all packaging and stray fibers from the surface
- Define your shots in advance: primary angle, close-up detail, side/back view, clasp or setting detail
Planning the shot list first keeps you from missing an angle after the piece is already broken down and packed away.
Step 3: Light and Capture the Product
Use large, diffused light sources rather than small hard ones. Diffusion softens shadows and, according to the Gemological Institute of America, often shows gemstone color more accurately than direct light.
Shape the light with simple modifiers:
- White reflectors for fill on dark sides
- Black cards or flags for stronger edge definition when a piece blends into the background
Once the setup looks clean:
- Lock the camera on a tripod
- Fix focus, exposure, and white balance
- Use focus stacking for pieces with multiple depth planes (settings, pavé, engraved detail)
Focus stacking blends several shots at different focus distances into one image with deeper sharpness. It's essential for rings and pendants where the front and back can't both stay sharp in a single exposure.

Step 4: Edit, Standardize, and Inspect the Final Image
Correct exposure, white balance, dust, and background unevenness without changing the jewelry's actual color or shape.
This is where many sellers overcorrect and end up with plastic-looking metal or stones that don't match what the customer receives.
Before uploading, check for:
- Clean edges with no masking halos
- Consistent margins and cropping across the batch
- A natural, subtle contact shadow (don't erase it entirely)
- Compliance with your platform's current image specs
When Should You Use White Background Photography?
White isn't automatically the right call for every image. It depends on the platform, the product, and whether shoppers need more context than an isolated shot can give.
When White Background Is the Right Fit
Marketplace rules differ, so match the background to where the image will live:
- Amazon: Pure white (RGB 255,255,255), no packaging or unrelated props, and at least 80% product fill
- Etsy: No white-background mandate—pixel dimensions and sRGB matter more, so you have room to choose
- eBay: Neutral or white by default; a darker backdrop can suit shiny, reflective pieces White backgrounds:
- Support accurate-looking metal and gemstone color through bounce fill
- Reveal fine detail without distracting elements
- Make a catalog of mixed jewelry styles feel visually organized

When Another Image Format Is Also Needed
A ring on white paper doesn't tell a shopper how it drapes on a finger or catches light on a wrist. Add lifestyle, on-model, or styled images when shoppers need to judge scale, wearability, or the feel of a premium purchase. Industry surveys often find that most online shoppers want photos that bring products to life, not only isolate them. Use white-background shots as the controlled catalog foundation. Save black, gradient, or styled frames for social and campaign work that needs brand personality.
Equipment and System Requirements
The minimum setup includes:
- A camera or capable smartphone
- Stable tripod
- Close-focusing or macro lens for detail shots
- Seamless white background material
- Diffused lights, reflectors, and flags
- Cleaning supplies and simple product supports Match your investment to catalog volume. A seller shooting five SKUs a month doesn't need the same rig as a brand processing 500. That gap is why many Amazon and Shopify sellers skip an in-house studio and use a ship-in product photography service such as Jason Bump Photography. You get consistent, listing-ready images without buying and maintaining the full gear stack.
Inputs, Quality Control, and Marketplace Readiness
Before shooting, prepare a shot list, color references, file requirements, and a simple style guide documenting camera position, lighting placement, and editing standards. Keep your workspace free of mixed lighting sources. One fluorescent bulb near a daylight-balanced softbox will wreck color consistency across a batch. Review every image for white balance, sharpness, background tone, and file naming before it ever reaches a marketplace upload screen.
Key Parameters That Affect White-Background Jewelry Photos
Four variables determine whether your final image looks clean or turns out gray, flat, or muddy.
Background Tone, Material, and Separation
Matte, glossy, acrylic, and paper surfaces all reflect light differently. A glossy backdrop introduces reflections and visible seams; matte paper hides them better.
Product-to-background distance and how you light the backdrop independently decide the rest: a true white field, or a dull gray gradient with a visible horizon line.
Light Size, Direction, and Diffusion
Small, hard light sources create harsh, uncontrolled hotspots on polished metal and faceted stones. Broad, diffused light spreads that reflection out, making it look intentional instead of distracting. Jewelry work is especially prone to flare and specular hot spots, so balance product light and background light separately. Use diffusion panels and white reflectors to shape the glow, and black flags to kill stray bounce.
Camera Stability, Focus, and Exposure
A tripod isn't optional here — even slight hand movement blurs macro detail. Manual focus, a tested aperture for depth of field, and locked exposure keep the full catalog consistent from shoot to shoot. When one exposure can't capture a piece sharply front to back, focus stacking fills the gap.

White Balance, Color Accuracy, and Post-Production
Mixed lighting sources shift how gold, silver, and gemstones appear on camera. Stick to one color temperature and a neutral reference so metal and stone color stay accurate across every SKU.
Keep post-production restrained: remove dust and refine edges without changing the product's true color or texture.
Common Mistakes, Troubleshooting, and Alternatives
Most white-background failures trace back to insufficient prep, uncontrolled reflections, or editing that goes too far.
Common Mistakes
- Gray, uneven backgrounds from poor separation or lighting
- Visible sweep seams in the frame
- Blown-out highlights on metal edges
- Hotspots and mixed color casts
- Fingerprints, dust, and inconsistent cropping across the batch
- A "white" background that's actually too close in tone to pale jewelry, killing contrast
Troubleshooting Common Issues
Gray or patchy background: Light the background separately from the product. Inspect the sweep for cleanliness, then confirm exposure and white balance before any retouching.
Blown gemstone highlights or dark metal: Adjust light size, move the diffuser, reposition reflectors and flags, or rotate the product's angle slightly. Small angle changes solve more reflection problems than heavy editing ever will.
Cutout halos or unnatural floating jewelry: Fix this in the original capture first. Refine masking carefully, keep a subtle contact shadow, and check the image at both listing size and full zoom. Halos that look fine small often fall apart up close.

Alternatives to a Physical White Background
You can shoot on a neutral surface and replace the background digitally in post, or build a fully lit physical white set. The digital route is faster to scale but risks unnatural edges and lost shadow realism if not done carefully.
Black, gray, gradient, or lifestyle backgrounds work better for dramatic contrast on light-toned jewelry, or for social storytelling. They also bring marketplace restriction risks and need careful color management to avoid casts.
For larger batches—or when you lack the gear to control reflective jewelry consistently—Jason Bump Photography's contactless product photography service starts at $39 per image, with a $300 minimum and 2–3 business day turnaround for ship-in clients nationwide.
It follows the workflow in this article: planning, controlled lighting, and consistent post-production, without you owning a studio.
Conclusion
A clean white jewelry image is a system, not a shortcut. The backdrop, lighting, product prep, camera control, and editing all have to work together. Placing a ring on white paper and shooting on auto won't get you there.
The strongest approach pairs consistent white-background product shots for marketplace listings with secondary lifestyle or on-model images where shoppers need context.
Document your setup once and build a simple quality-control checklist. That repeatability lets you scale a catalog without visible differences between shoot sessions months apart.
If you'd rather not build the system in-house, a commercial product photography studio can deliver listing-ready white-background jewelry images on a consistent standard.
Frequently Asked Questions
What is the best background to use for jewelry photography?
It depends on the product and platform. Seamless white is the safest default for ecommerce and marketplace listings. Black or reflective backgrounds add contrast for light-toned pieces, while lifestyle backgrounds work better for social storytelling.
Are white backgrounds good for photography?
Yes, for ecommerce clarity and consistency. White backgrounds isolate the product, reduce shadows, and support accurate color reading, though styled or lifestyle backgrounds often perform better for social and brand campaigns.
What is the 2:1:1 rule for jewelry?
It's a styling guideline, not a lighting or camera rule. It suggests pairing two pieces from one category, one from a second, and one from a third (for example, two rings, one necklace, and one bracelet) when composing a styled shot.
How do you photograph jewelry on a white background without reflections?
Use large, diffused light sources instead of small hard ones, and add white reflectors or black flags to control fill and edge definition. Small adjustments to the product's angle and a locked tripod position often fix reflections that lighting alone can't solve.
How do you make a white background look pure white in jewelry photos?
Light the background separately from the product so it doesn't rely on spill from your main lights. Combine that with correct exposure, consistent white balance, and careful editing that cleans up unevenness without erasing the product's natural contact shadow.