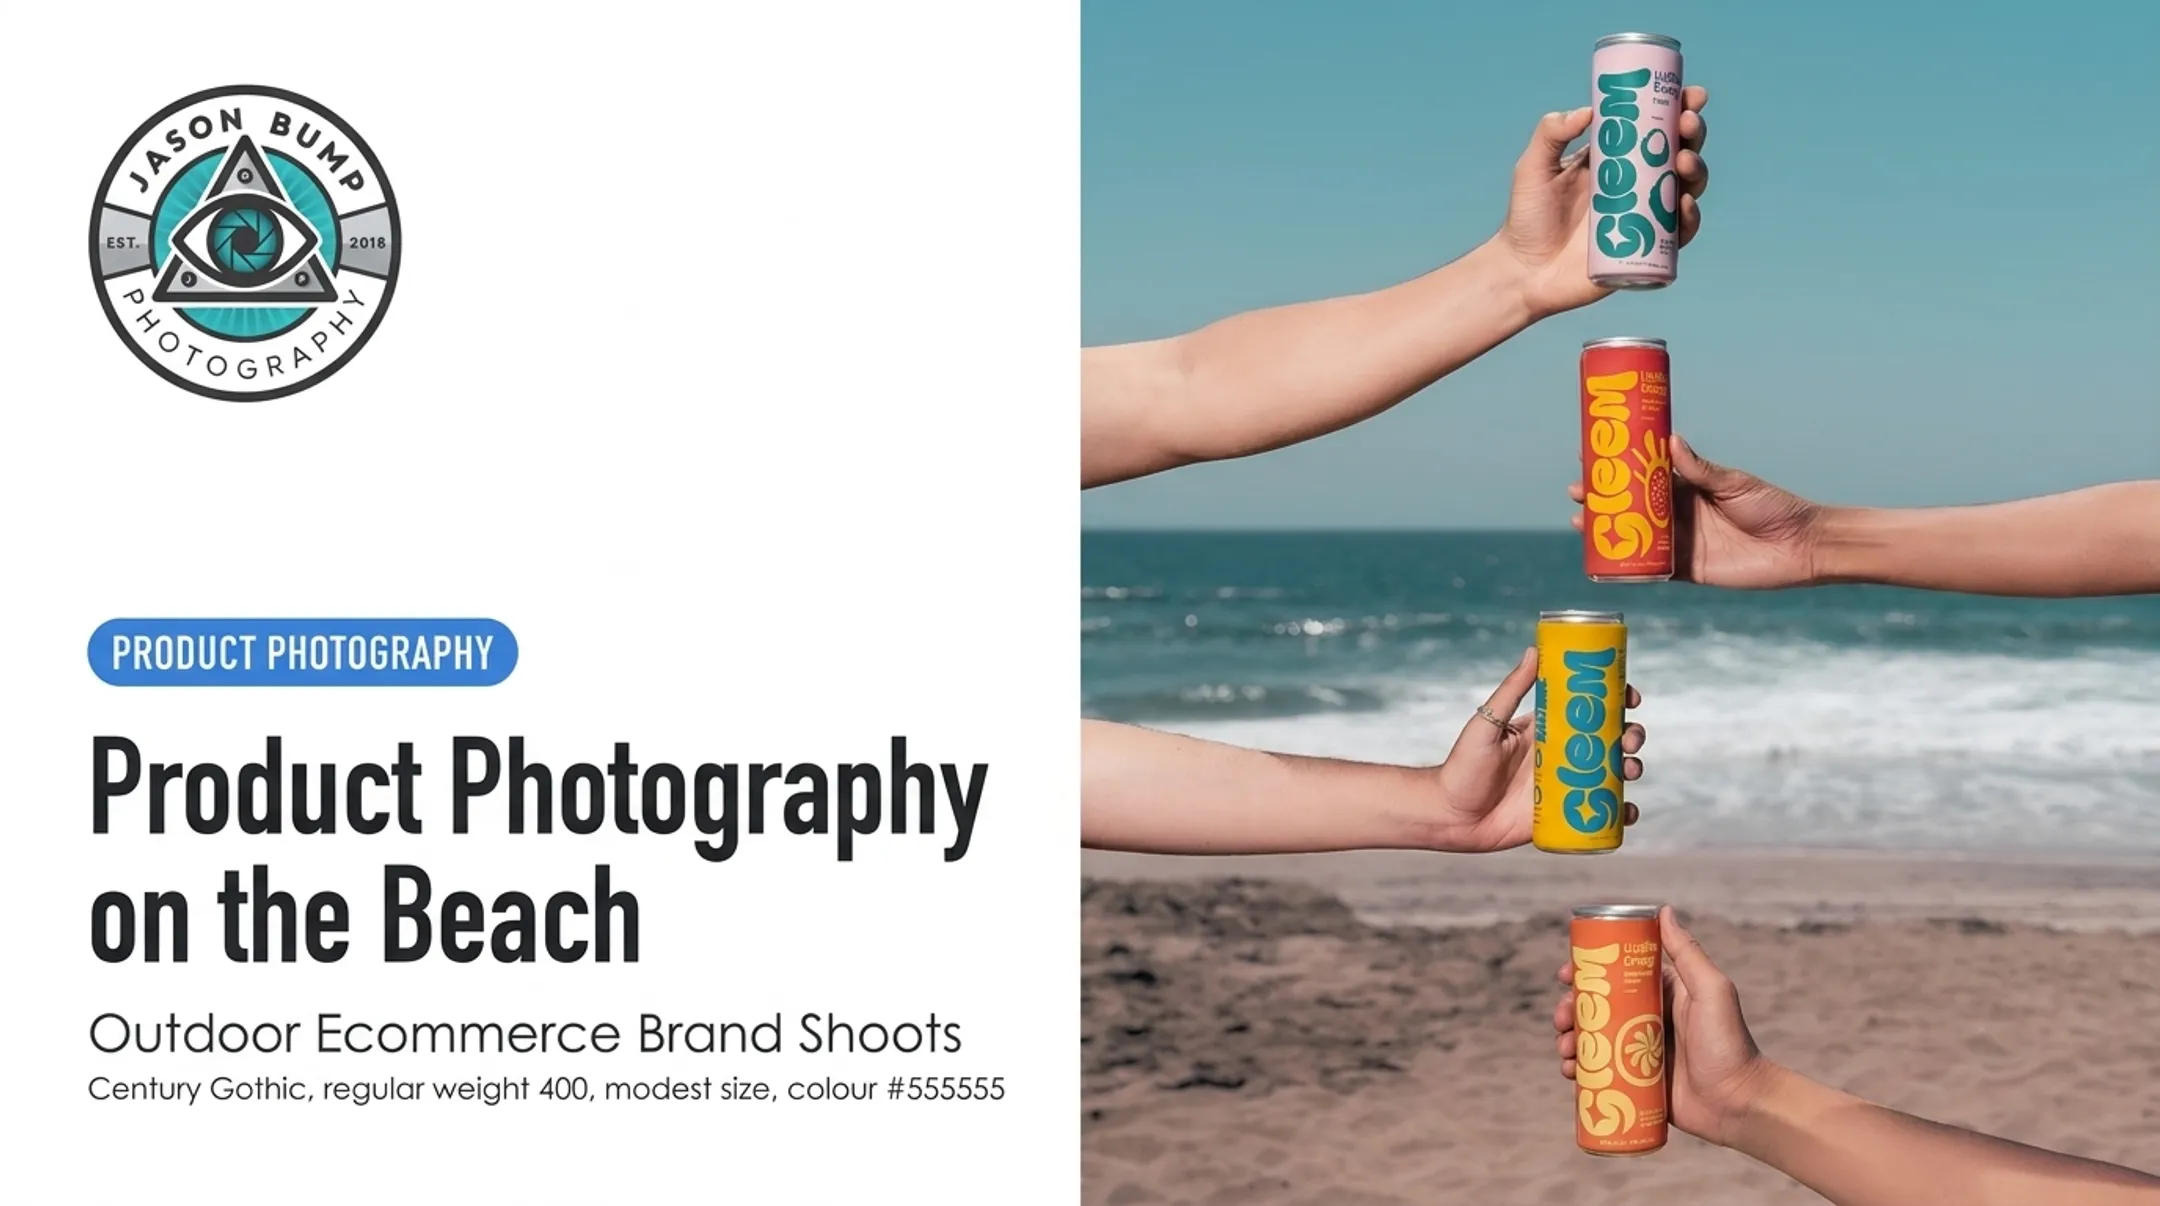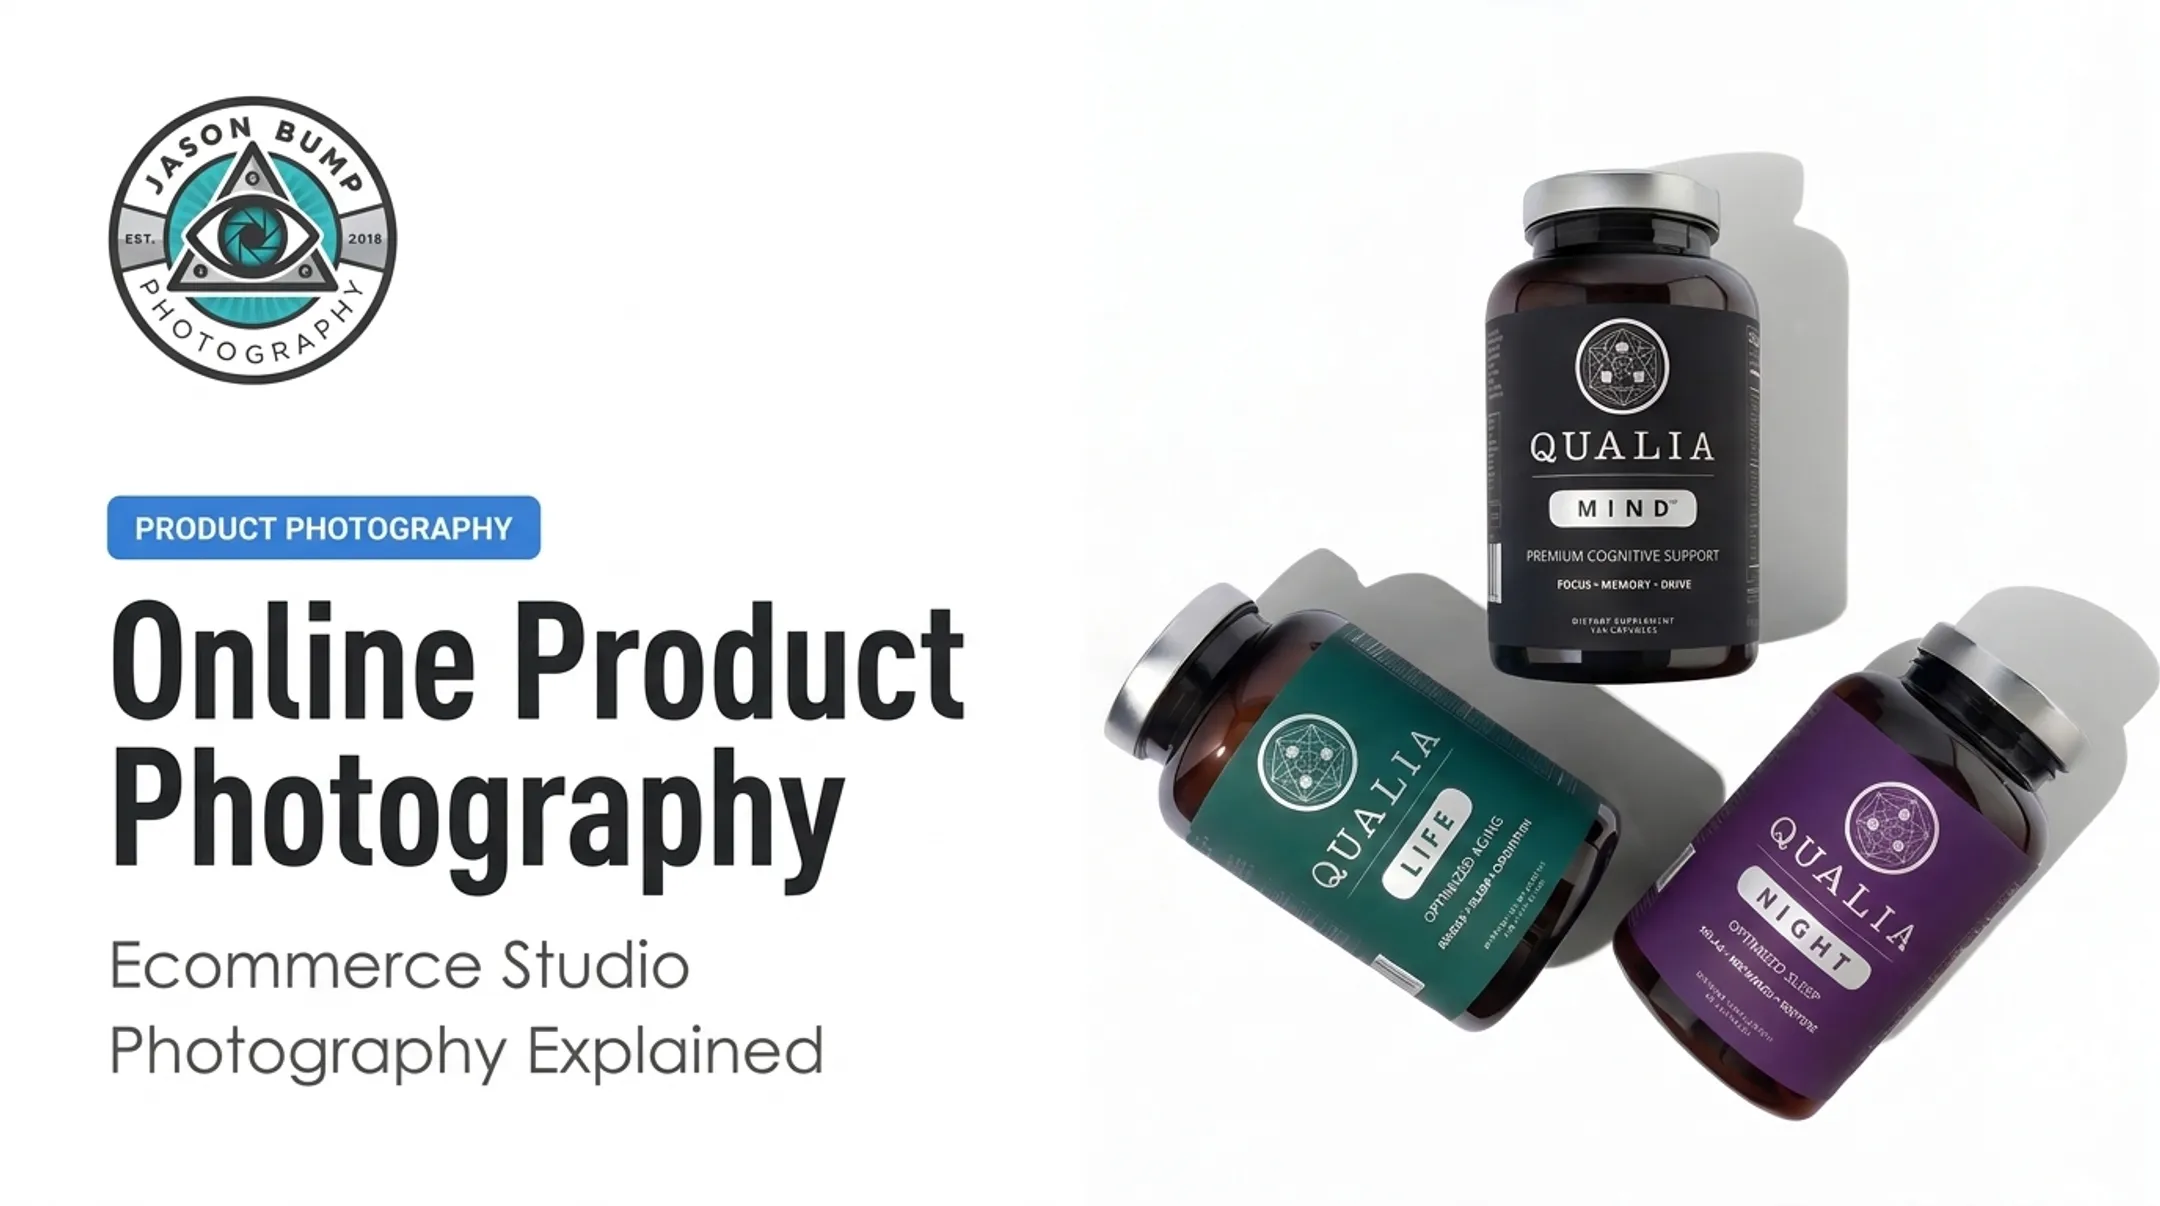

Tech products make this even harder. Glossy housings, glass screens, and tiny ports don't forgive sloppy lighting or lazy angles.
This guide covers the image types you need, how to plan a shoot, how to control glare and screen glitches, editing best practices, and whether to DIY or hire a pro.
Key Takeaways
- Match image types to purpose: catalog shots sell clarity, detail shots sell features, lifestyle shots sell context.
- Control reflections, screen brightness, color accuracy, dust, and fingerprints deliberately on electronics.
- Build your shot list, prep checklist, and usage rights agreement before the shoot, not during it.
- Choose DIY or a professional based on SKU volume, product complexity, and how much time your team actually has.
What Is Tech Product Photography and Why Does It Matter?
Tech product photography is the creation of commercial images that show an electronic product accurately, attractively, and in a way that supports a sales or marketing goal. It sounds simple. It rarely is.
Electronics fight back against cameras in ways that a cotton t-shirt never will:
- Glossy plastic and glass bounce light unpredictably
- Metallic housings create hot spots and warped reflections
- Dark surfaces swallow detail and hide texture
- Small ports, buttons, and cables demand precision focus
- Active screens introduce moiré, flicker, and blown highlights
Baymard Institute's research on ecommerce usability found that 56% of shoppers' first action on a product page is exploring the images, and a quarter of sites they tested had images with insufficient resolution or zoom. That gap matters more for tech than almost any other category.
Here's the direct cost: 22% of all online product returns happen because the product didn't match its photo. For a $200 pair of headphones or a $400 smart speaker, that's an expensive mismatch between expectation and reality — one that a proper shoot prevents.

Types of Tech Product Photography
Clean Catalog and Hero Product Images
Isolated shots on white or neutral backgrounds give shoppers a clear, distraction-free look at the product. These are your workhorses for listings, marketplaces, and comparison pages.
At minimum, plan for:
- Front, back, and side views
- A three-quarter angled shot
- A powered-on shot showing the screen or interface
- An accessory-inclusive shot (cables, cases, chargers included)
Always check the current requirements for your platform before finalizing the list. Amazon and Shopify update their specs periodically.
Feature, Detail, and Scale Photography
Close-ups do work that wide shots can't. A macro shot of a USB-C port, a textured grip, or a laser-etched logo tells buyers about build quality that a hero image glosses over.
Scale matters just as much. A smartwatch or portable speaker photographed alone gives no sense of real-world size. Show it next to a hand, on a wrist, or beside a familiar object.

Lifestyle and Action Photography
Shoppers want images that show products in real use, especially for consumer electronics and accessories. Lifestyle photography puts the product to work:
- Headphones during a morning commute
- A smartwatch mid-workout
- A portable speaker at a backyard gathering
- A storage drive on an actual desk setup
Jason Bump Photography's work with Apollo Neuro, a wearable wellness device, shows this in practice. The product sits on a wrist in real, lived-in settings rather than against a sterile backdrop. Each scenario should tie back to a specific audience or campaign goal, not just look nice.
Flat Lay, Group, Packaging, and Unboxing Images
Flat lays organize a product with its cables, manuals, and accessories into one clean overhead shot. Group shots promote bundles or full product families in a single frame.
Packaging and unboxing images show buyers exactly what arrives at their door. Use them for launch campaigns, social content, email marketing, and retail decks.
Creative, Interactive, and Emerging Formats
360-degree views, short product clips, and AR-ready assets give shoppers more control over how they inspect a product. AI-generated background variations can help too, but with one hard rule:
Digital enhancements should never alter a product's real shape, features, color, or functionality. If a background swap starts to look like a spec change, it needs human review before it goes live.

How to Plan a Tech Product Photoshoot
Start With the Sales Channel and Objective
Build the brief around where the images will live, such as Amazon, a DTC store, paid social, or a launch page. Channel choice drives background rules, aspect ratios, and how much lifestyle versus pure product you need.
Create a Detailed Shot List
List every SKU, colorway, angle, and close-up before production starts. Specify:
- File formats and dimensions
- Background requirements
- Naming conventions
- Retouching expectations
- Whether files need negative space for ad copy overlays
At Jason Bump Photography, every Ship-Shoot-Sell order includes a written shot list before products ship, which cuts the risk of costly reshoots.
Prepare the Products
Before the camera comes out:
- Remove protective films, dust, and fingerprints
- Charge every device and confirm power-on
- Set screens, app UI, and demo content
- Stage the right accessories and packaging
Establish a Visual Direction
Lock these choices before day one:
- Backgrounds and surface treatments
- Lighting mood
- Camera angles
- Styling and props
A simple mood board keeps catalog, lifestyle, and social frames feeling like one system instead of three separate shoots.
Plan Logistics and Usage Rights
For lifestyle work, lock locations, models, and weather backups before the shoot date.
Confirm licensing in writing before production. Cover at minimum:
- Duration and territory
- Media type and exclusivity
- Retouching rounds
- Copyright ownership and permitted use
Do not leave ownership or usage assumed in a commercial contract.
How to Capture, Edit, and Optimize Tech Product Photos
Control Reflections and Shape the Light
Large, diffused light sources cut glare on glass, plastic, and polished metal better than harsh point lights. Shape the rest of the frame with simple controls:
- Flags and reflectors to place highlights where you want them
- A fresh lighting test on every material in the catalog
- Separate setups when matte plastic and chrome finish behave differently One rig rarely covers a full tech lineup.
Use Stable Camera Positioning
A tripod and consistent camera height keep catalog images uniform across dozens of SKUs. Lock in:
- Manual exposure and white balance (auto settings drift between shots)
- A repeatable angle for each product category
- Focus stacking for macro detail shots when needed
Preserve Accurate Screens and Colors
Powered-on screens are notoriously tricky. Repeating pixel patterns can create moiré, and uneven artificial light can cause flicker or color shifts. Test camera distance, angle, and focal length before you shoot the full batch. Small adjustments often remove the pattern entirely. Check colors against the physical product, not only your monitor. Cleanup should stop at dust and stray fingerprints—not a recolor that makes the device look better than it is.

Retouch Consistently, Use AI Carefully
Standard retouching steps include:
- Dust and fingerprint removal
- Edge refinement
- Exposure and color correction
- Background cleanup AI tools can speed repetitive cleanup or background variations, but every frame still needs a human pass for distorted edges, altered logos, or invented ports.
Prepare Files for Ecommerce and Search
Deliver high-resolution masters and web-ready exports. Use descriptive file names and clear alt text for accessibility and search. Confirm each platform’s current dimension requirements instead of reusing old presets—they change often. With Jason Bump Photography’s ship-in product service, clients receive retouched, platform-ready images sized for ecommerce, Amazon, Shopify, social, and print from a single shoot.
DIY vs. Hiring a Professional Product Photographer
When DIY May Be Sufficient
DIY works fine for early-stage brands with simple, matte products, small catalogs, and someone on the team who has time to learn lighting and editing. Warning signs it's time to stop DIYing:
- Repeated reshoots because reflections keep ruining shots
- Inconsistent catalog images across SKUs
- Colors that never quite match the real product
- Launch deadlines your team can no longer cover in-house
How to Evaluate a Professional Photographer
Look at portfolios that actually include reflective, tech, or electronics work — not just general product photography. Ask about:
- Pre-production and shot-list development
- Lighting expertise with glossy and screen-based products
- Turnaround time and revision rounds
- Usage rights and file delivery format
- Ability to adapt one shoot into multiple channel-specific crops
A Contactless Option Worth Considering
If you don’t have a local studio, a ship-in workflow can still meet the criteria above. Jason Bump Photography in Vista, California, offers 100% contactless product photography, with images starting at $39 and a $300 minimum order.
How the process works:
- Ship products to the studio against a written, pre-approved shot list
- Receive retouched, platform-ready files in as little as 2–3 business days
- Use the prepaid return label included with every order
Jason adds 10+ years of creative-direction experience on top of the technical shoot, so framing and cropping are planned for conversion—not just catalog coverage. Request a project outline by SKU count and image types before you commit.
Frequently Asked Questions
What are the types of product photography?
The main types are hero/catalog images, group shots, lifestyle photography, flat lays, detail and scale images, packaging shots, and interactive formats like 360-degree views. Most brands need a mix, not just one.
What is the best lighting for tech product photography?
Soft, diffused light from a large source minimizes glare on glass and metal far better than a small, harsh light. Reflectors and flags help shape shadows without introducing hot spots on screens.
How do you photograph reflective electronics without glare?
Use a large diffused light source, test different camera and light angles, and keep the product surface completely clean. Always shoot a test frame before committing to the full batch — small angle changes fix most glare issues.
Should tech products be photographed on a white background or in lifestyle settings?
Both. White-background images meet marketplace listing requirements and show the product clearly, while lifestyle images show real-world use and audience fit.
How should I prepare a tech product for a photoshoot?
Clean off dust and fingerprints, charge the device fully, and test that it powers on correctly. Configure the screen display, gather all accessories and packaging, and finalize your shot list before the camera comes out.