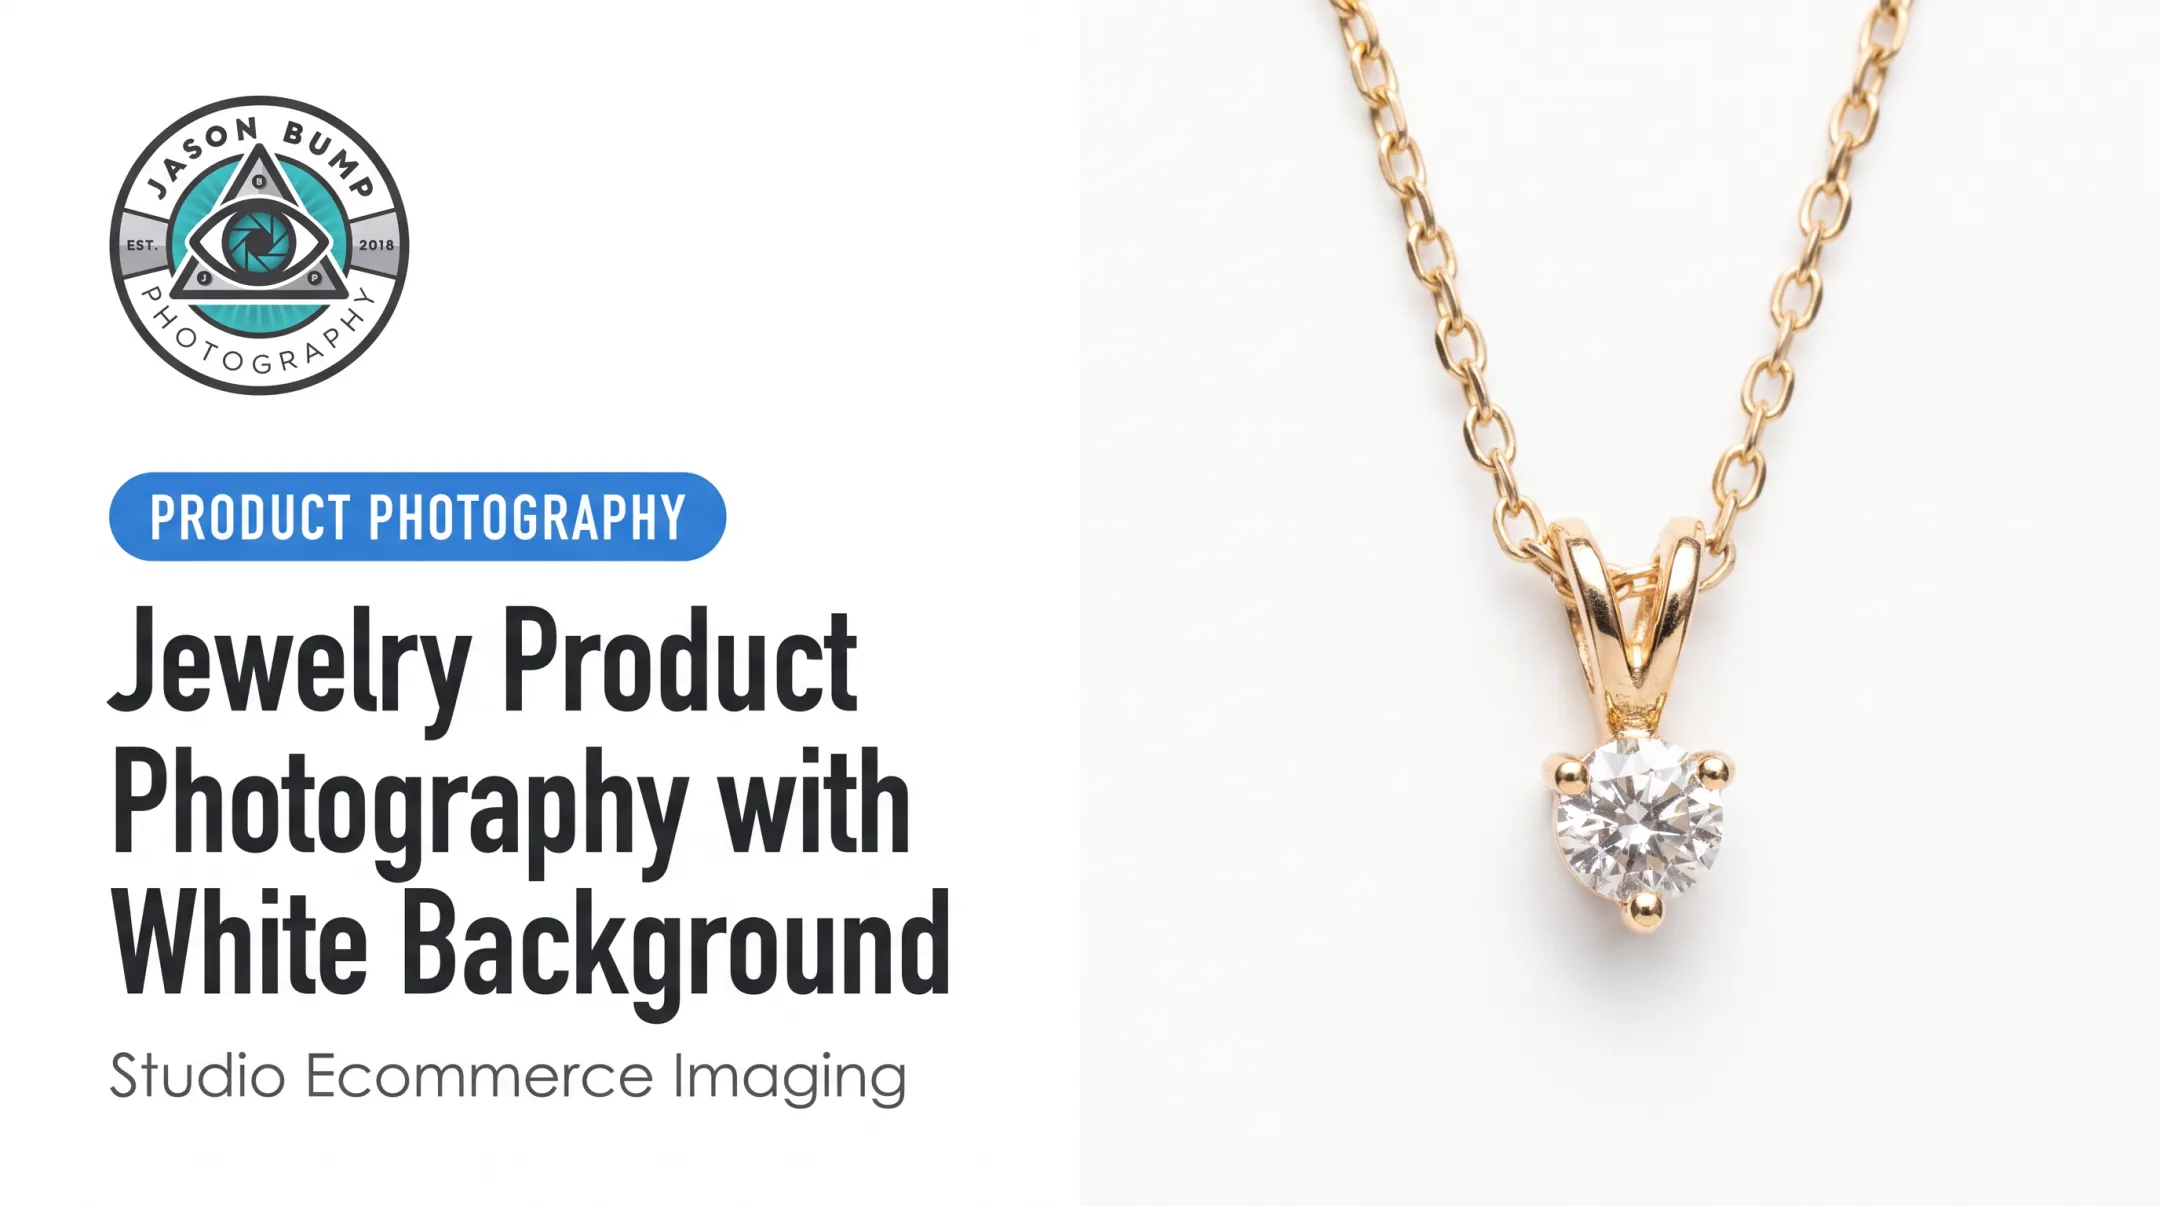

But macro jewelry photography is harder than it looks. Curved metal reflects everything in the room. Depth of field shrinks to millimeters. Dust and fingerprints that are invisible to the eye become the focal point of the image.
22% of online product returns happen because the product didn't look like the photo. That's a real cost, not just a photography problem.
This guide covers the full workflow: equipment, camera settings, lighting, reflection control, focus stacking, common mistakes, and when it's smarter to skip the DIY setup entirely.
TL;DR
- Lock down shake with a true macro lens, tripod, manual focus, and remote release
- Clean jewelry thoroughly before shooting; macro magnification exposes dust, oils, and scratches instantly
- Control reflections with diffusion, flags, and reflectors rather than relying on ambient room light
- Focus-bracket when one frame can't hold the whole piece sharp; retouch only what stays true to the item
How to Photograph Jewelry With a Macro Lens
Step 1: Prepare and Position the Jewelry
Clean each piece using a method appropriate to its material. Metal polish for gold and silver, gentle solutions for pearls or soft stones. Handle everything with well-fitting microfiber gloves afterward. Fingerprints show up instantly under macro magnification.
Decide your composition before you mount the camera:
- Isolated catalog shot: pure white background, straight-on angle
- Close-up detail: engraving, clasp, or stone setting
- Angled hero shot: dimensional view that shows craftsmanship
- Creative brand image: styled background that matches brand identity
Use a dab of photography-safe wax if you need to secure a ring or pendant. Visible wax residue is one of the most common — and most avoidable — mistakes in DIY jewelry photography.

Step 2: Configure the Camera and Macro Lens
Mount your camera on a sturdy tripod. Compose through live view rather than the viewfinder, since it's easier to judge sharpness at magnification. Shoot in RAW, use manual focus, and trigger the shutter with a remote release or timer to avoid vibration.
True macro means 1:1 reproduction: the subject projects onto the sensor at actual size. Tamron's macro lens guide groups macro focal lengths into three practical categories:
| Focal Length | Working Distance | Best For |
|---|---|---|
| 50-65mm | Shortest | Tight spaces, budget setups |
| 90-105mm | Moderate | Most tabletop jewelry (default choice) |
| 150-200mm | Longest | When lights need more clearance |
Test your starting aperture, shutter speed, and ISO on the actual piece, then judge sharpness at 100% before committing to a full shoot.
Step 3: Build the Lighting Setup and Control Reflections
Kill ambient light first. Windows, overhead fixtures, and even your own shadow will show up in polished metal and faceted stones.
Use a light tent or large diffusion panel as your base. According to B&H's guide to macro lighting, tents produce soft, all-around light and help cut unwanted reflections on jewelry's reflective surfaces.
From there:
- Light metal with broad, soft sources for even highlights
- Light gemstones directionally to create sparkle without blown hotspots
- Add black flags to subtract distracting reflections
- Add white cards to bounce controlled fill into shadows
- Check every angle for reflections of the camera, your hand, or the room before you set exposure

Step 4: Capture, Review, and Process
Shoot test frames first. Check sharpness, histogram, color, and dust at high magnification before photographing your full collection.
If one exposure can't keep the front and back of the piece sharp, capture a focus-bracketed sequence:
- Focus on the nearest point that needs to be sharp
- Bracket toward the farthest point, using small increments
- Keep lighting, composition, and exposure locked between frames
- Blend the sequence in stacking software, checking edges around prongs and stone settings for halos

Apply the same post-processing to every piece: white balance, dust removal, crop, and export settings. Don't retouch color, proportions, or finish — buyers expect the photo to match what arrives.
When Should You Use a Macro Lens?
A macro lens earns its place when the goal is close-up detail. It is not the right tool for every jewelry shot.
When Macro Makes Sense
Use a macro lens for:
- Ecommerce and marketplace listing images
- Engraving and craftsmanship documentation
- Gemstone detail shots
- Paid social crops that zoom into texture
- Premium hero images for launches
Skip macro when the job needs speed, scale, or wearability:
- Large catalogs with fast, standardized capture
- Complex multi-item arrangements
- Campaigns that show jewelry being worn
Those shoots call for lifestyle photography with more working distance.
Equipment Checklist
- Camera body compatible with your lens
- True macro lens (1:1 minimum)
- Stable tripod
- Remote release or timer
- Adjustable lighting with diffusion
- Reflectors, flags, and clean backgrounds
- Photography-safe support wax and microfiber gloves
- Focus-stacking or editing software
Before You Shoot
Prepare clean jewelry, a shot list, product specs, and reference images so every piece in a collection gets consistent coverage.
For valuable items, plan secure storage, careful handling, and clear custody procedures if pieces travel to a studio.
Key Parameters That Affect Your Results
Every variable in macro jewelry photography interacts with the others. Change one, and you're usually adjusting several more.
Aperture and Depth of Field
Macro photography produces an inherently narrow depth of field. Stopping down increases sharpness range, but Canon's depth-of-field guide warns that very small apertures introduce diffraction — light bending in a way that can actually soften the image, even at the point of focus.
f/16 alone rarely keeps an entire ring sharp front to back. Compare one stopped-down frame to a short focus-bracketed sequence before you commit.
Shutter Speed, ISO, and Stability
A tripod and remote release control vibration better than raising shutter speed alone. Add light so you can hold a clean ISO.
Check shutter speed for camera movement and for the piece itself. Jewelry that shifts mid-bracket ruins the stack.
Lighting, Diffusion, and Reflections
Polished metal and faceted stones reflect the room, the camera, and the photographer. Identify unwanted reflections before touching exposure settings — changing exposure won't fix a bad reflection.
- Broad diffused sources for soft, even highlights on metal
- Narrow point sources for gemstone sparkle (watch for hotspots)
- White cards for controlled fill without harshness
- Black flags to kill distracting bounce
Focus, Composition, and Output
Lock in these habits before you run a full set:
- Manual focus with live-view magnification for precise placement
- Consistent camera height and product orientation across the catalog
- Extra margin around the frame for cropping
- Deliberate white balance, with export dimensions matched to your platform before you shoot the whole collection
Common Mistakes and Alternatives
Most disappointing jewelry photos trace back to uncontrolled surfaces, unstable gear, or an editing process that starts too late. The macro lens is rarely the real problem.
Common Mistakes
- Shooting dirty jewelry or touching pieces without gloves
- Leaving support wax visible in frame
- Skipping the high-magnification check on your first test shot
- Shooting handheld, which introduces micro-shake at close range
- Letting autofocus hunt instead of switching to manual
- Changing angle or background treatment inconsistently across a catalog
Troubleshooting
Soft focus? Check subject stability first, then focus-plane placement, aperture, and bracket increments before reaching for sharpening in post.
Harsh reflections or dull color? Look at what the metal and stones are actually reflecting. Adjust diffusion, flag placement, and light position before touching white balance or exposure.
Alternatives to a Full Macro Setup
Not every brand needs a dedicated macro rig.
- Smartphone or standard lens — fine for quick social or behind-the-scenes shots; limited for print size and catalog consistency
- Extension tubes — lower-cost magnification boost, though they reduce available light and slow autofocus
- Close-up filters — inexpensive and compact, with a minor image-quality trade-off

For valuable pieces, high SKU counts, or brands without time to build a controlled setup, ship-in product photography removes the guesswork. Jason Bump Photography offers contactless, nationwide ship-in product photography starting at $39 per image. Confirm current rates and availability when you book.
Conclusion
A macro lens alone won’t deliver catalog-ready jewelry photos. Careful prep, a stable rig, controlled reflections, deliberate lighting, and disciplined post-production all carry equal weight.
Focus stacking and a repeatable workflow matter most when jewelry needs to be sharp and consistent across an entire catalog. For fast social content, a simpler setup often does the job.
Choose DIY or a professional service based on piece value, catalog consistency needs, and how much time you have to build and test a controlled setup. If you’d rather ship pieces in and get listing-ready images back, Jason Bump Photography handles contactless product shoots for ecommerce and Amazon catalogs nationwide.
Frequently Asked Questions
What type of macro lens is best for jewelry photography?
A true 1:1 macro lens in the 90-105mm range is the practical default: it balances working distance with detail. Confirm camera compatibility and check magnification specs before buying.
What are the best camera settings for jewelry macro photography?
Settings depend on your lens, lighting, and how much depth of field you need. Start with tripod-based manual focus, test a range of apertures, and use focus stacking if one frame won't cover the whole piece.
What are the best accessories for jewelry macro photography?
A sturdy tripod, remote release, diffusers, reflectors or flags, microfiber gloves, photography-safe wax, cleaning tools, and focus-stacking software cover the essentials.
How do you photograph jewelry without reflections?
Remove ambient light sources, then build your setup with diffusion and flags. Study what the jewelry is actually reflecting before positioning your light sources around it.
Do you need focus stacking for jewelry macro photography?
You need it when a single exposure can't keep the front and back of a piece sharp, which is common with rings and dimensional settings. The jewelry must stay completely still between bracketed frames for a clean blend.